Giving your walls a fresh coat of paint is one of the easiest and most affordable ways to transform a space. But before you dive in with a roller, it’s important to properly prepare your walls for painting. Skipping the prep work can lead to uneven coverage, peeling paint, or unsightly imperfections that will be difficult to ignore once the job is done. Taking the time to do it right ensures a smooth, long-lasting finish.
Clean the Walls Thoroughly to Prepare Your Walls for Painting
Walls collect dust, dirt, and grease over time, even if they look clean at first glance. Any residue left behind can prevent paint from adhering properly. Start by wiping down the walls with a damp cloth or sponge and mild detergent. In kitchens or high-traffic areas, you may need a degreaser to cut through stubborn buildup. Once the walls are clean, rinse them with a damp cloth and let them dry completely before moving on to the next step.
Repair Any Imperfections
Even small cracks, dents, or nail holes can stand out once a new coat of paint goes on. Filling these imperfections is crucial for a professional-looking finish. Use a lightweight spackle or joint compound to fill in holes and cracks, then smooth it out with a putty knife. For larger repairs, like deep gouges or damaged drywall, you may need a patching kit. Once the filler is dry, sand it down until it blends seamlessly with the rest of the wall.
Sand for a Smooth Surface
Sanding isn’t just for patching work. It helps create a surface that paint can grip onto, especially if the walls are glossy or previously painted with oil-based paint. A fine-grit sandpaper or sanding block works well for this. Lightly sand the entire surface, focusing on any rough patches or uneven areas. After sanding, wipe away dust with a damp cloth or tack cloth to keep it from mixing with your paint.
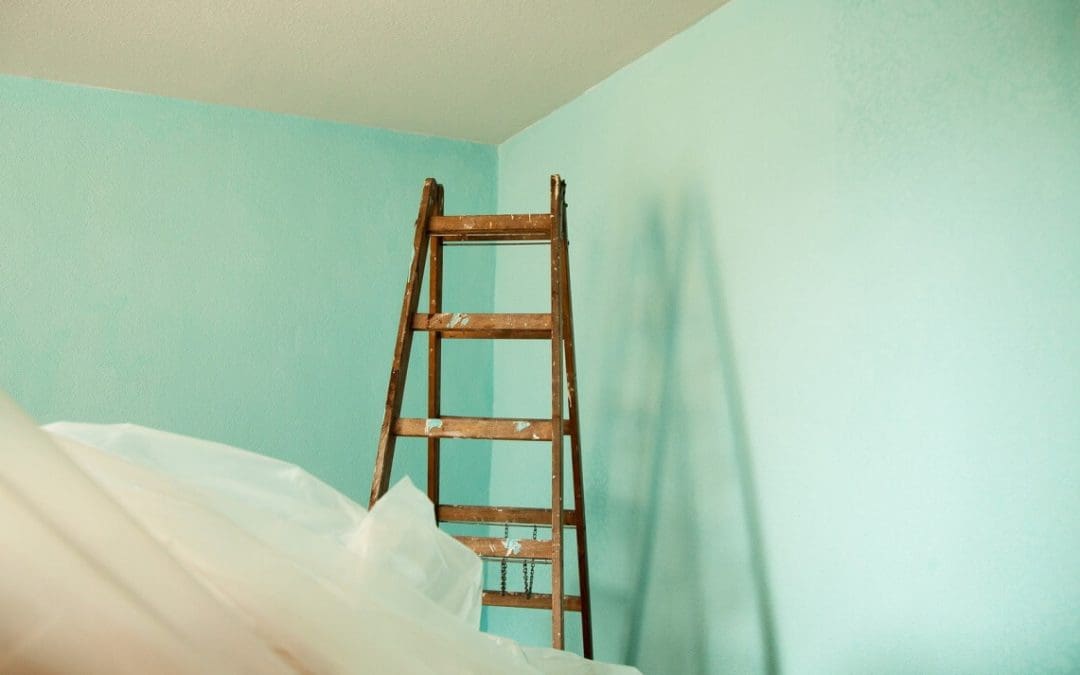
Apply Painter’s Tape and Protect the Area
A clean paint job needs crisp edges and avoiding drips on trim, floors, and ceilings. Use painter’s tape along baseboards, door frames, and anywhere you want a sharp line. Press it down firmly to prevent paint from seeping underneath. To protect floors and furniture, lay down drop cloths or plastic sheeting. Even the steadiest painters can have a mishap, so it’s better to be safe than sorry.
Use a Quality Primer When You Prepare Your Walls for Painting
Primer helps paint adhere better, evens out porous surfaces, and improves the final color payoff. If you’re painting over a dark or bold color, primer is essential for preventing it from bleeding through. It’s also helpful when painting over new drywall, repaired areas, or stains that might show through. Choose a primer that suits your wall surface, apply it evenly, and allow it to dry completely before painting.
Take Your Time for the Best Results
Preparation might not be the most exciting part of painting, but it’s what makes the difference between a flawless finish and a job that looks rushed. With clean, smooth, and properly primed walls, your paint will go on more evenly and last longer. Once the prep work is done, you can grab your roller and get started with confidence, knowing your walls are ready for a stunning transformation.
Cover All Home Inspections offers comprehensive home inspection services to homebuyers and sellers in Indiana. Contact us to schedule our services today.